Carolina Horsepower  

Go Back   Carolina Horsepower > Video & Pictures > Videos & Pictures
Register FAQ Community Calendar

Reply
 
Thread Tools Display Modes
Old 09-03-2012, 07:19 PM   #21
djfury05
Senior Member
 
djfury05's Avatar
 
Join Date: May 2012
Location: Beaufort, SC
Posts: 242
Default

Quote:
Originally Posted by adamcs View Post
You should post some of the pics of your build on here
Never made a build thread. RPM put the motor and trans in for me with no pics, came home, wrecked it, swapped everything over to this new roller and didn't take pics of anything really. I will post what I have though I suppose.
djfury05 is offline   Reply With Quote
Old 09-03-2012, 07:23 PM   #22
adamcs
Senior Member
 
Join Date: Aug 2011
Location: camp lejeune/ goose creek, sc
Posts: 914
Default

Quote:
Originally Posted by djfury05 View Post
Never made a build thread. RPM put the motor and trans in for me with no pics, came home, wrecked it, swapped everything over to this new roller and didn't take pics of anything really. I will post what I have though I suppose.
I was talking about the pics you had on rwhp of when you were prepping the roller, all the engine bay work and stuff, shit was legit
adamcs is offline   Reply With Quote
Old 09-03-2012, 07:25 PM   #23
djfury05
Senior Member
 
djfury05's Avatar
 
Join Date: May 2012
Location: Beaufort, SC
Posts: 242
Default

Quote:
Originally Posted by adamcs View Post
I was talking about the pics you had on rwhp of when you were prepping the roller, all the engine bay work and stuff, shit was legit
Ahh ok yep I'll get those up asap.
djfury05 is offline   Reply With Quote
Old 09-03-2012, 11:22 PM   #24
CPTNSLOW
Senior Member
 
CPTNSLOW's Avatar
 
Join Date: Feb 2011
Location: Florence
Posts: 511
Default

Looks great
__________________
Something witty and confusing
CPTNSLOW is offline   Reply With Quote
Old 09-04-2012, 10:04 AM   #25
04ctd
Senior Member
 
Join Date: Aug 2009
Location: Ladson SC
Posts: 4,388
Default

does look good with the paint.
awesome

i hate when someone doesn't do the "might as well's":
-you might as welll paint the bay while the motor is out
-might as well rattle the part before you put it in.
-might as well paint all the parts BEFORE they get dirty, so will be easier to clean later on


that does look good, esp the gas tank
__________________
1 Timothy 3:16
16 And without controversy great is the mystery of godliness:
God was manifested in the flesh,
Justified in the Spirit,
Seen by angels,
Preached among the Gentiles,
Believed on in the world,
Received up in glory.
04ctd is offline   Reply With Quote
Old 09-04-2012, 01:19 PM   #26
FRDnemesis
Senior Member
 
FRDnemesis's Avatar
 
Join Date: Nov 2009
Location: rancho cucamonga crka killaz
Posts: 1,689
Default

Quote:
Originally Posted by djfury05 View Post
Gone.. no need for it
Did you weld up your upper support to take up for the stress you've placed on it by removing the upper? If not, you might want to do some reading up on that. There have been some people to tear it clear off the body because they removed the upper and did not beef up the mount to compensate.
FRDnemesis is offline   Reply With Quote
Old 09-04-2012, 02:30 PM   #27
LadyInRed
Senior Member
 
LadyInRed's Avatar
 
Join Date: Apr 2010
Location: Charleston
Posts: 1,579
Default

Damn that car is clean.
__________________
2011 Mustang 3.7L 6spd
2001 Ram 2500 Cummins TT 6spd
1998 Camaro Z28 LS1 6spd
1984 Camaro Z28
LadyInRed is offline   Reply With Quote
Old 09-04-2012, 05:13 PM   #28
DIGGLER
Senior Member
 
DIGGLER's Avatar
 
Join Date: Aug 2012
Posts: 1,458
Default

Quote:
Originally Posted by FRDnemesis View Post
Did you weld up your upper support to take up for the stress you've placed on it by removing the upper? If not, you might want to do some reading up on that. There have been some people to tear it clear off the body because they removed the upper and did not beef up the mount to compensate.
i took a hole saw to mine and kept it in there. weighs not much but i figger it should add a good bit of support.
DIGGLER is offline   Reply With Quote
Old 09-04-2012, 11:30 PM   #29
djfury05
Senior Member
 
djfury05's Avatar
 
Join Date: May 2012
Location: Beaufort, SC
Posts: 242
Default

Quote:
Originally Posted by FRDnemesis View Post
Did you weld up your upper support to take up for the stress you've placed on it by removing the upper? If not, you might want to do some reading up on that. There have been some people to tear it clear off the body because they removed the upper and did not beef up the mount to compensate.
Did some reading. Doesn't seem to be a problem for a lot of guys. Lots in the 8 second range with no issues. I've got all solid mounts on everything so the rear shouldn't walk anywhere. When I have access to a welder though I will go around the seams and probably add another brace but I think I'm good for now since the car just sits.
djfury05 is offline   Reply With Quote
Old 09-04-2012, 11:48 PM   #30
schardbody
Senior Member
 
Join Date: Sep 2008
Posts: 1,158
Default

wait, show car????


just kidding, very nice!
schardbody is offline   Reply With Quote
Old 09-05-2012, 03:57 PM   #31
djfury05
Senior Member
 
djfury05's Avatar
 
Join Date: May 2012
Location: Beaufort, SC
Posts: 242
Default

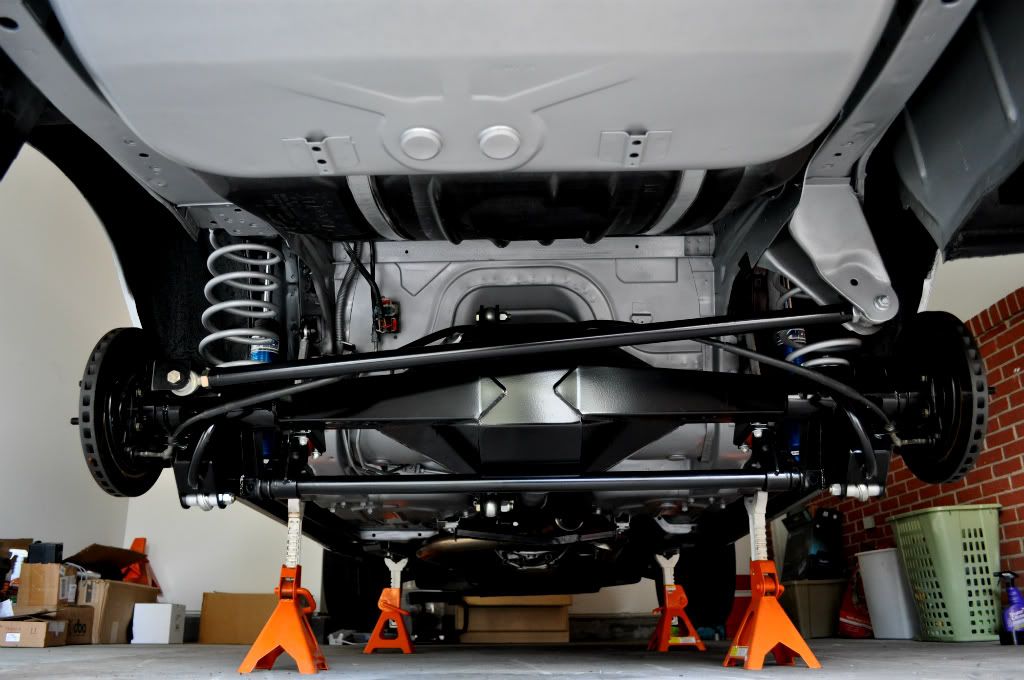
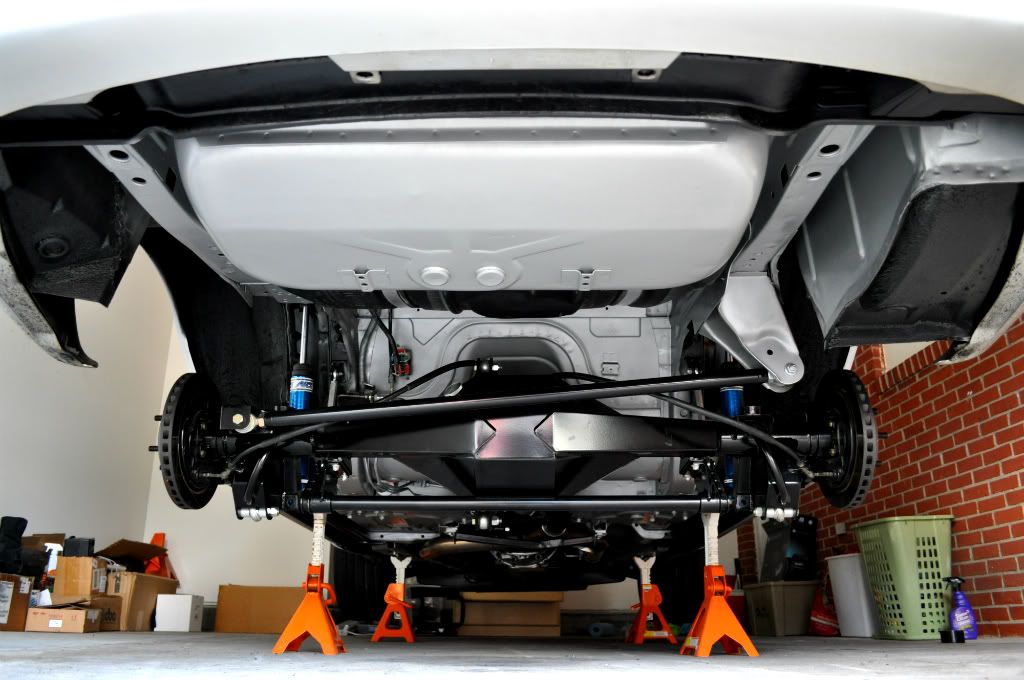
Finished up today finally.. went ahead and did another coat of silver and finished all the places that needed black. Also painted the springs silver too to break it up some in the back.


You can see here how nicely the rubberized material came out under the rocker panel and in the wheel wells.


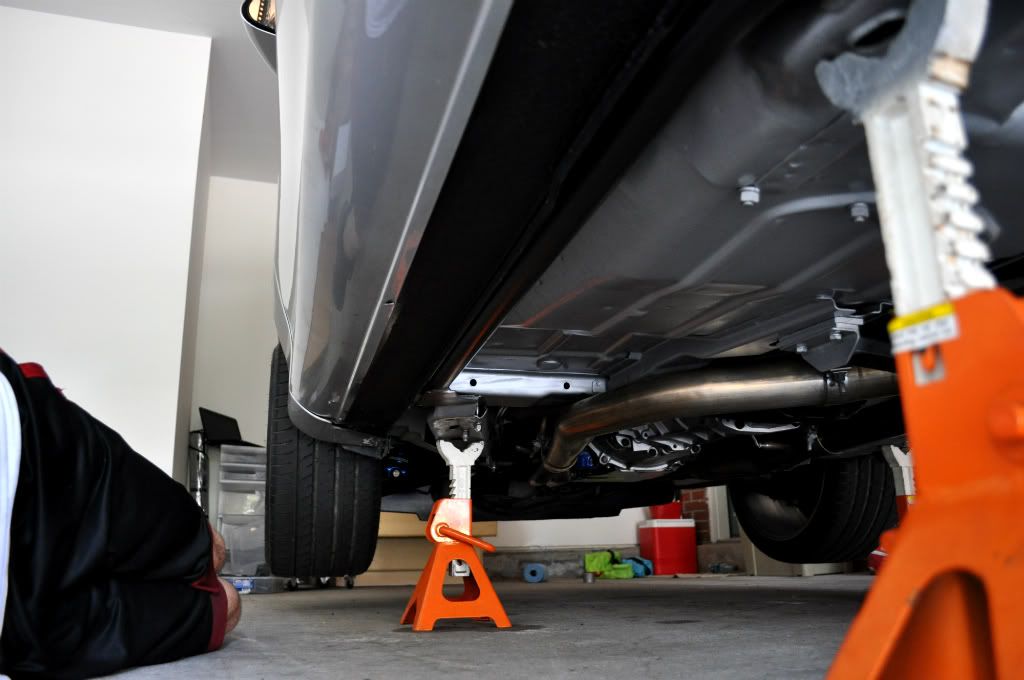
The wheel well is reflecting some of the browness of the rotor but its black.


djfury05 is offline   Reply With Quote
Old 
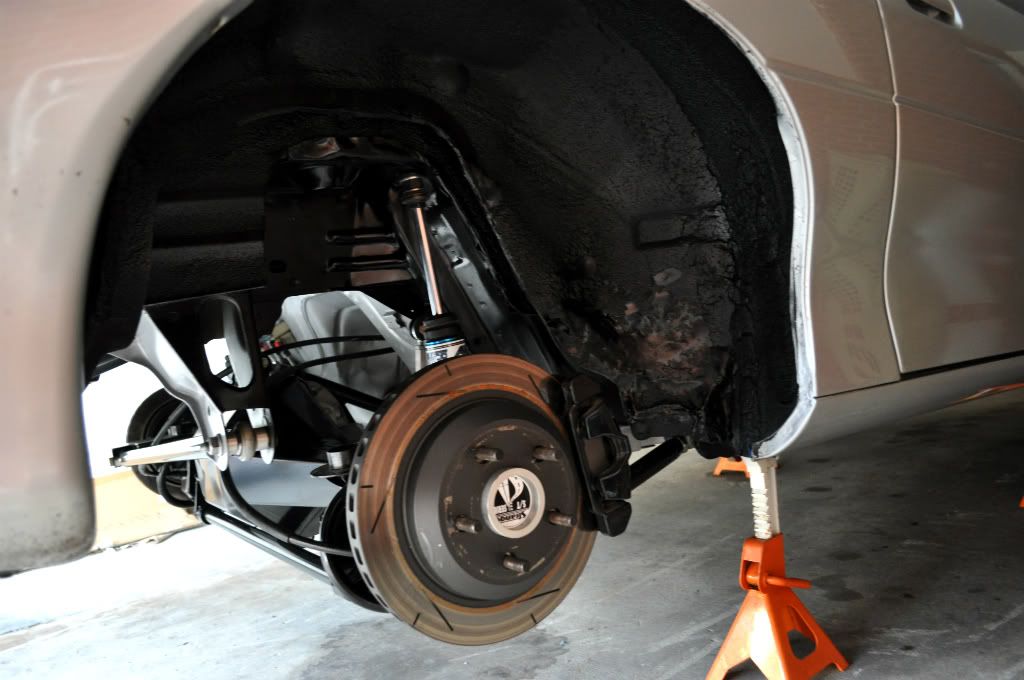
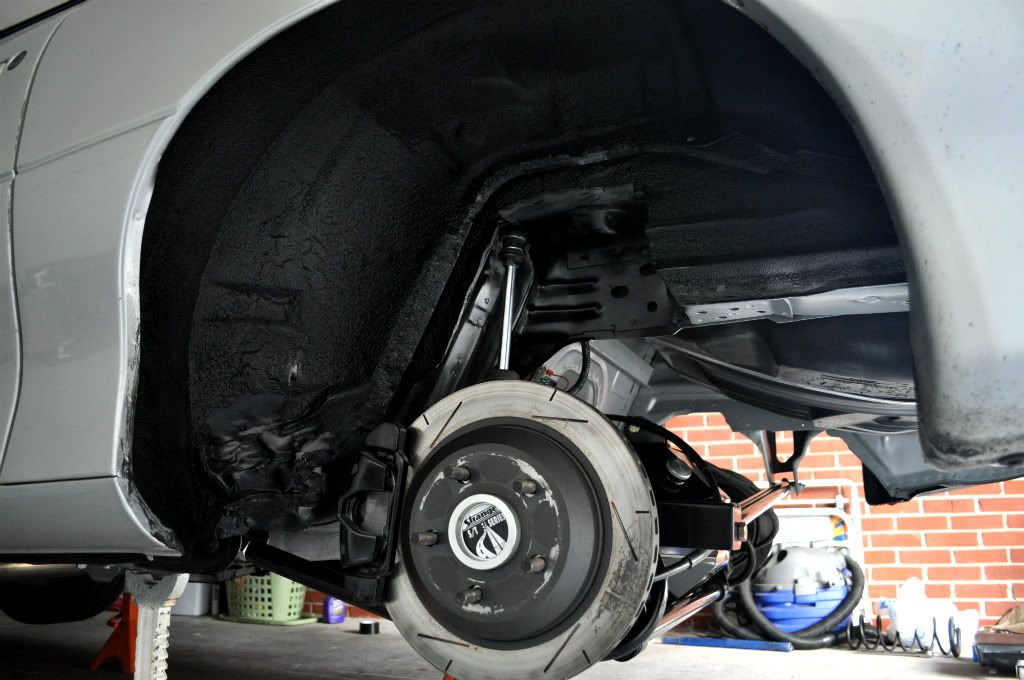
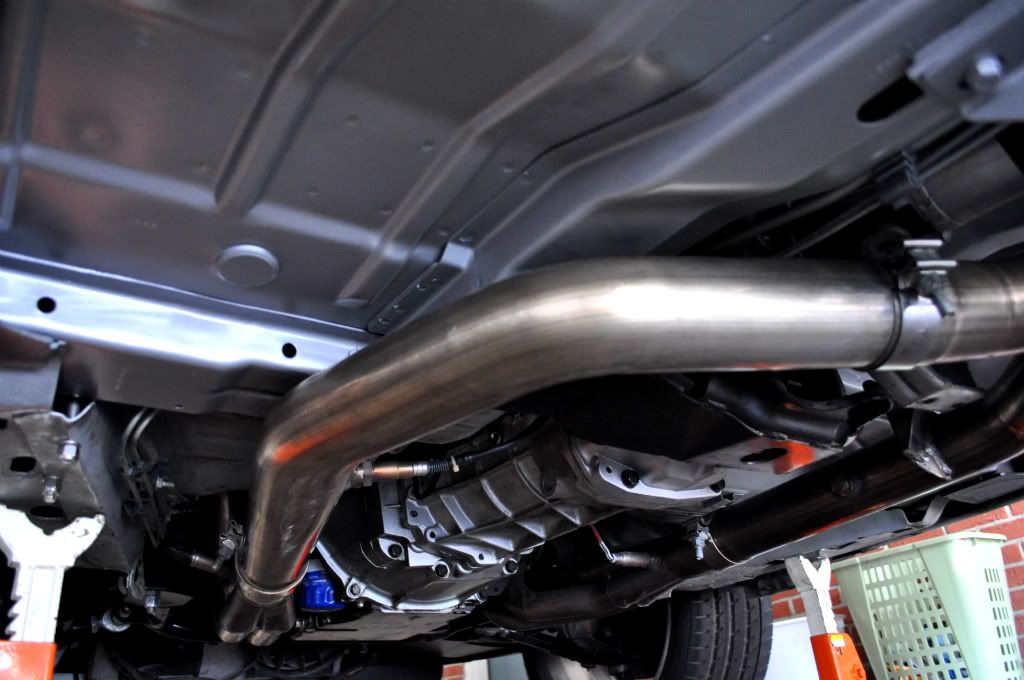
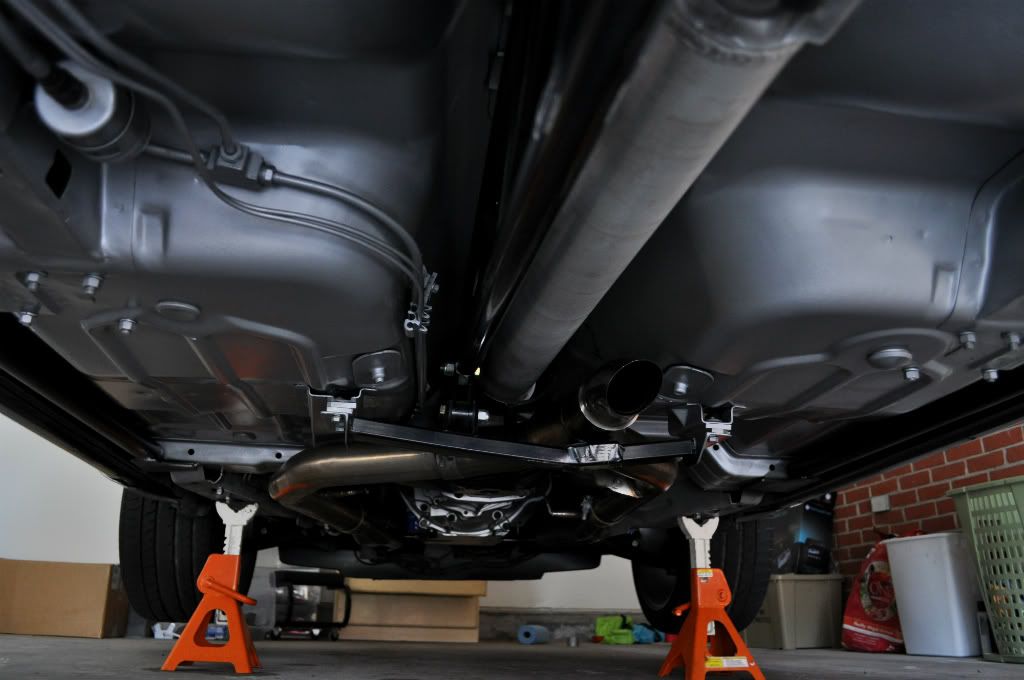
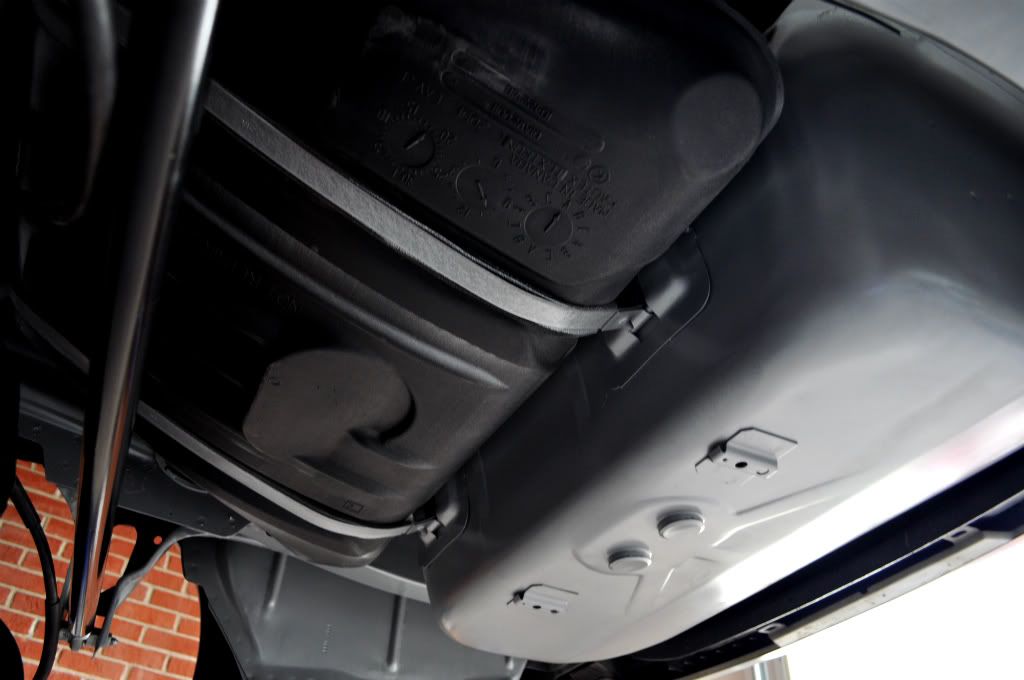
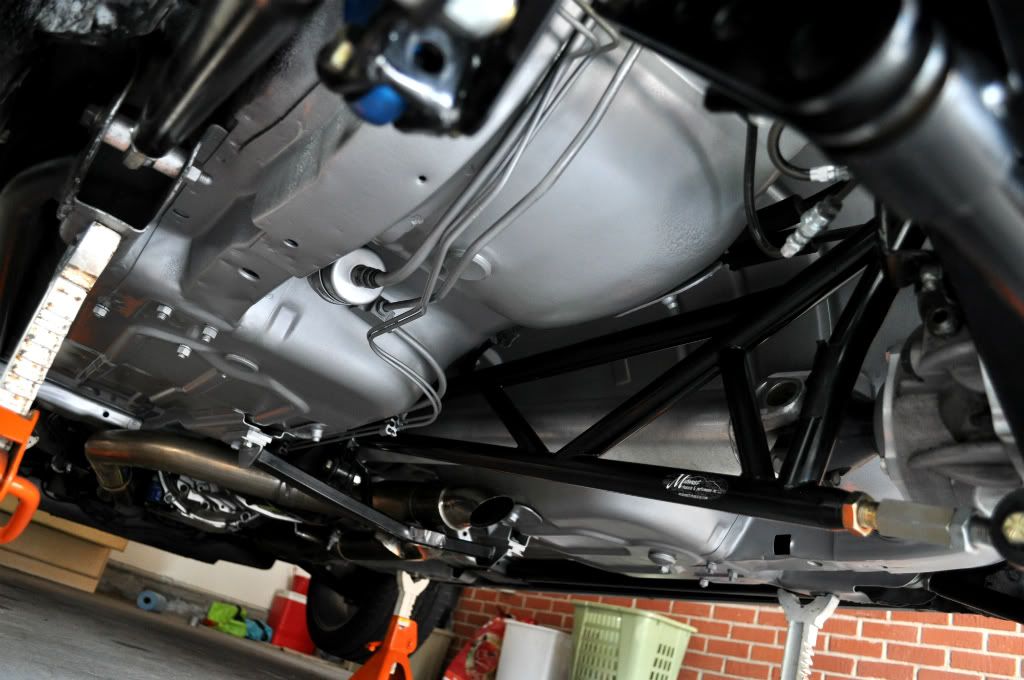
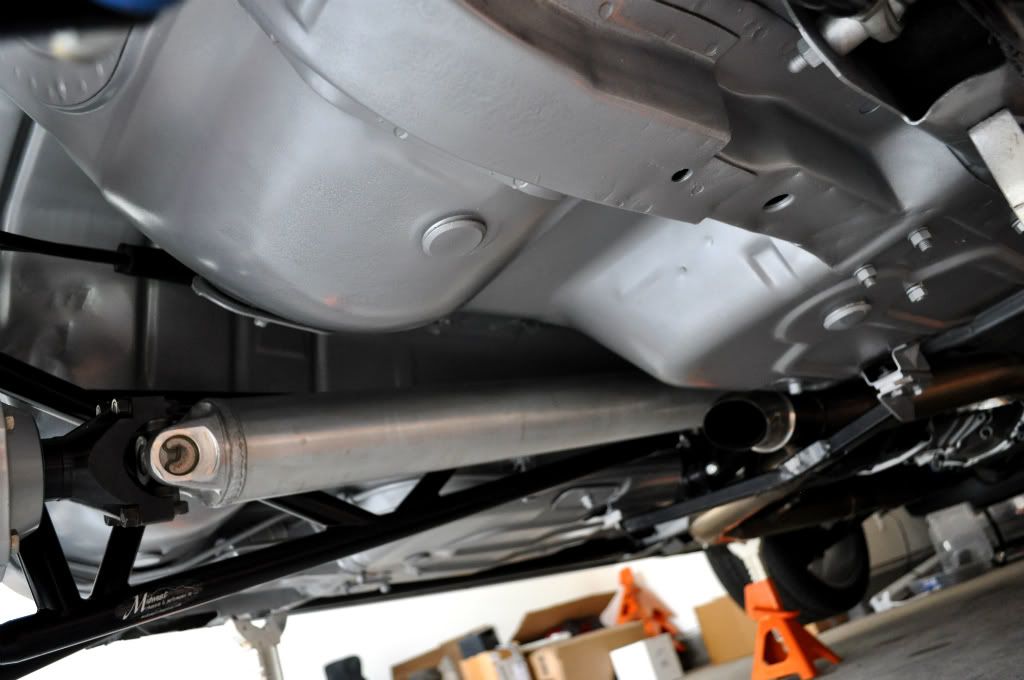
09-05-2012, 06:46 PM   #32
FRDnemesis
Senior Member
 
FRDnemesis's Avatar
 
Join Date: Nov 2009
Location: rancho cucamonga crka killaz
Posts: 1,689
Default

Quote:
Originally Posted by djfury05 View Post
Did some reading. Doesn't seem to be a problem for a lot of guys. Lots in the 8 second range with no issues. I've got all solid mounts on everything so the rear shouldn't walk anywhere. When I have access to a welder though I will go around the seams and probably add another brace but I think I'm good for now since the car just sits.

This is what most of them are doing due to the fact that they "did" remove the upper. I only mention it because there is no need in you getting hurt over 5lbs for an upper sway bar. Notice the new style support bracket that is welded in place over the factory bracket.
Attached Images
File Type: jpg Prod.jpg (48.9 KB, 8 views)

Last edited by FRDnemesis; 09-05-2012 at 06:56 PM.
FRDnemesis is offline   Reply With Quote
Old 09-05-2012, 06:51 PM   #33
djfury05
Senior Member
 
djfury05's Avatar
 
Join Date: May 2012
Location: Beaufort, SC
Posts: 242
Default

Quote:
Originally Posted by FRDnemesis View Post
This is what most of them are doing due to the fact that they "did" remove the upper. I only mention it because there is no need in you getting hurt over 5lbs for an upper sway bar.
Thanks for the pic.. I will probably do the same and box it in and add some support at the frame for it.
djfury05 is offline   Reply With Quote
Reply

Tags
Tags by BDD


Posting Rules
You may not post new threads
You may not post replies
You may not post attachments
You may not edit your posts

BB code is On
Smilies are On
[IMG] code is On
HTML code is On

Forum Jump


All times are GMT -4. The time now is 08:13 AM.


Powered by vBulletin® Version 3.8.11
Copyright ©2000 - 2026, vBulletin Solutions Inc.